Does the thought of carving a pumpkin fill you with excitement, only to leave you staring blankly at a sea of stencil options? You’re not alone! Every fall, the quest for the perfect pumpkin carving pattern can feel overwhelming. You want a design that truly pops on your porch, but sifting through endless, complicated images can quickly drain your Halloween spirit.
Picking the right pattern is key to a successful jack-o’-lantern. A design that looks great on paper might be too tricky to actually cut, leading to frustrating rips or a final product that doesn’t quite match your vision. We understand that pain point—nobody wants a saggy-faced gourd on Halloween night!
This guide cuts through the clutter. By the end of this post, you will have a clear roadmap for choosing patterns that match your skill level, your pumpkin’s shape, and the spooky vibe you are aiming for. Get ready to transform that plain orange sphere into a neighborhood masterpiece. Let’s dive into finding your ultimate pumpkin carving pattern!
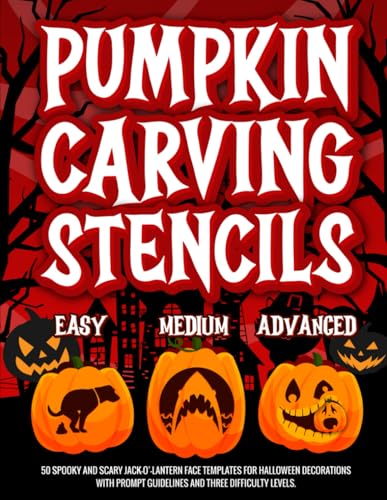
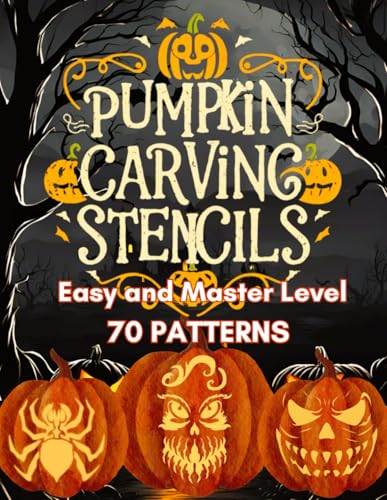
Top Pumpkin Carving Patterns Recommendations
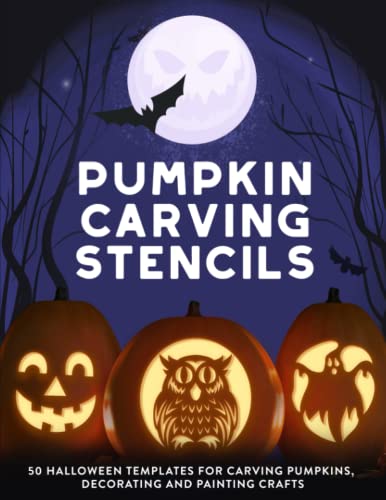
- Jack O Pattern Press (Author)
- English (Publication Language)
- 107 Pages - 10/17/2020 (Publication Date) - Independently published (Publisher)
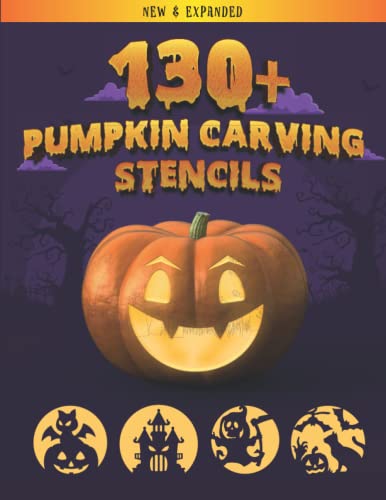
- Publishing, Creative Spook (Author)
- English (Publication Language)
- 162 Pages - 10/09/2021 (Publication Date) - Independently published (Publisher)
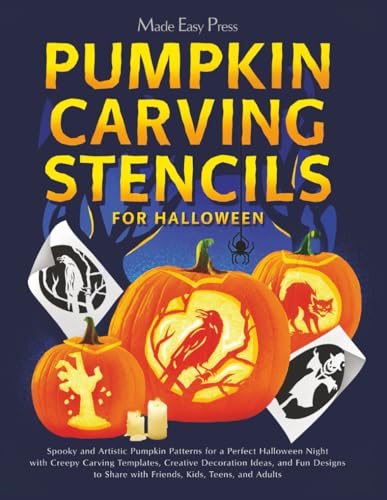
- Made Easy Press (Author)
- English (Publication Language)
- 104 Pages - 09/17/2025 (Publication Date) - Independently published (Publisher)
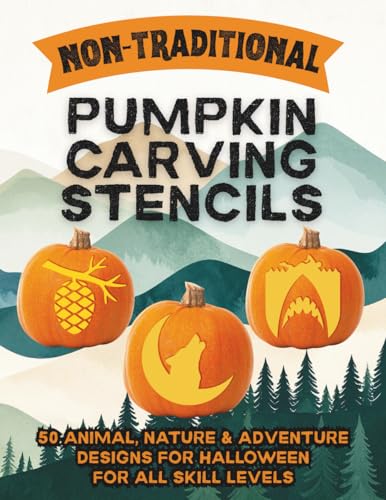
- Printables, EZ (Author)
- English (Publication Language)
- 116 Pages - 09/08/2025 (Publication Date) - Knowledge Nugget Books (Publisher)
- Publisher, Quill Craft (Author)
- English (Publication Language)
- 106 Pages - 08/23/2025 (Publication Date) - Independently published (Publisher)
- Alienaya, Natalie (Author)
- English (Publication Language)
- 142 Pages - 08/12/2024 (Publication Date) - Independently published (Publisher)

- Lundy Cupp (Author)
- English (Publication Language)
- 96 Pages - 08/23/2016 (Publication Date) - Fox Chapel Publishing (Publisher)
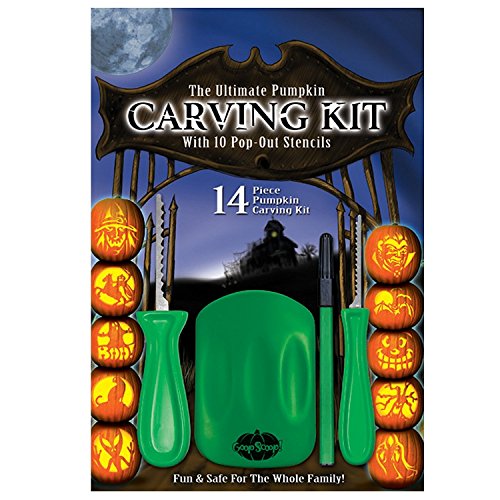
- (2) Carving Tools, (1) Marker, (1) Pumpkin Scooper
- (10) Carving Patterns.
The Ultimate Guide to Choosing the Best Pumpkin Carving Patterns
Ready to turn a plain pumpkin into a spooky masterpiece? Choosing the right carving pattern makes all the difference. This guide will help you select patterns that match your skill level and design dreams.
Key Features to Look For in Pumpkin Carving Patterns
When shopping for patterns, look closely at what they offer. Good patterns make carving easier and the final result better.
- Design Complexity: Patterns range from simple shapes to very detailed faces. Beginners should start with simple outlines. Experts might want intricate shading designs.
- Size and Scale: Check if the pattern fits your pumpkin size. Some patterns are only suited for giant pumpkins. Others are perfect for small gourds.
- Transfer Method Clarity: How will you get the design onto the pumpkin? Look for patterns that include clear instructions for tracing or taping.
- Shading vs. Cut-Through: Some designs only require cutting all the way through (cut-through). Others need you to scrape away just the skin to let light through (shading). Make sure the pattern clearly shows which parts are which.
Important Materials You Will Need
The pattern is just the start. You need the right tools to bring the design to life. The quality of your materials affects how easily you can carve.
- Pattern Material: Most patterns are printed on sturdy paper. Some digital downloads allow you to print on thicker cardstock, which holds up better against moisture.
- Transfer Tools: You will need a tracing tool. This could be a specialized pumpkin pounce wheel, a simple awl, or even a thick pushpin.
- Cutting Tools: While the pattern isn’t the tool, remember you need sharp carving tools, saws, or clay sculpting loops for detailed work.
Factors That Improve or Reduce Pattern Quality
Not all patterns perform the same way once they meet the pumpkin surface. A few factors determine if your pattern will be easy to use or frustrating.
Factors That Improve Quality:
- High-Contrast Printing: Black lines on bright white paper stand out well, making tracing easier.
- Section Breakdown: The best patterns break complex areas into smaller, manageable sections.
- Pre-Shading Notes: Patterns that clearly label “Scrape Here” or “Cut Out” save time and confusion.
Factors That Reduce Quality:
- Flimsy Paper: If the paper rips when you tape it to the curved pumpkin, the quality is low.
- Fuzzy Lines: Blurry or faint lines make accurate tracing very difficult.
- Poor Scaling Instructions: If you cannot easily resize the design for your specific pumpkin, the pattern offers less value.
User Experience and Use Cases
Think about who is carving and what the final goal is. Your use case heavily influences the best pattern choice.
- Family Fun Night: For younger children, choose simple, recognizable shapes like ghosts, bats, or classic jack-o’-lantern smiles. The user experience here is about speed and minimal frustration.
- Advanced Sculpting: If you are using specialized clay tools for 3D effects, look for patterns that emphasize deep shading. These offer a richer visual effect when lit.
- Party Decor: For a big display, use matching patterns across several pumpkins. This creates a cohesive, professional look.
10 Frequently Asked Questions (FAQ) About Pumpkin Carving Patterns
Q: Can I reuse a pumpkin carving pattern?
A: Yes, most paper patterns can be reused several times if you are careful not to tear them during the tracing process.
Q: What is the difference between a stencil and a pattern?
A: A stencil usually only shows the outline to cut through. A pattern often includes shading guides to scrape the skin for a translucent effect.
Q: Should I trace my pattern before or after I cut the top off the pumpkin?
A: You should trace the pattern onto the pumpkin before you hollow it out. A full pumpkin provides a firmer surface for tracing.
Q: My pattern doesn’t fit my pumpkin. What should I do?
A: If you bought a digital pattern, you can resize it using your printer settings. If it is a physical pattern, you might need to simplify some of the small details to fit the shape.
Q: How do I keep the pattern stuck to the bumpy pumpkin surface?
A: Use painter’s tape or masking tape along the edges and in the center to hold the paper flat against the curves.
Q: Are patterns for real pumpkins also good for foam pumpkins?
A: Yes, most patterns work for both. Foam pumpkins are often easier because they are softer, but you must use scraping tools instead of saws.
Q: What is the easiest way to transfer a dark pattern onto a dark orange pumpkin?
A: Try poking holes along all the lines first. This creates a dotted outline that is easier to see than a faint tracing mark.
Q: Do I need special software to print a downloaded pattern?
A: Usually, no. A standard PDF reader works fine for most downloadable patterns.
Q: How long should the carving process take with a detailed pattern?
A: Simple patterns take about 30 minutes. Highly detailed shading patterns can take two to three hours, depending on your skill level.
Q: Should I carve from the inside or the outside?
A: For most standard carving, you should carve from the outside. Carving from the inside can sometimes cause thin areas to break prematurely.
Hi, I’m Mallory Crusta, the heart and mind behind LovelyPetSpot.com.. As a passionate pet enthusiast, I created this space to share my experiences, expertise, and love for all things pets. Whether it’s helpful tips, heartfelt stories, or advice for pet parents, my mission is to make the journey of caring for your furry, feathery, or scaly friends as joyful and fulfilling as possible. Join me in celebrating the incredible bond we share with our animal companions!